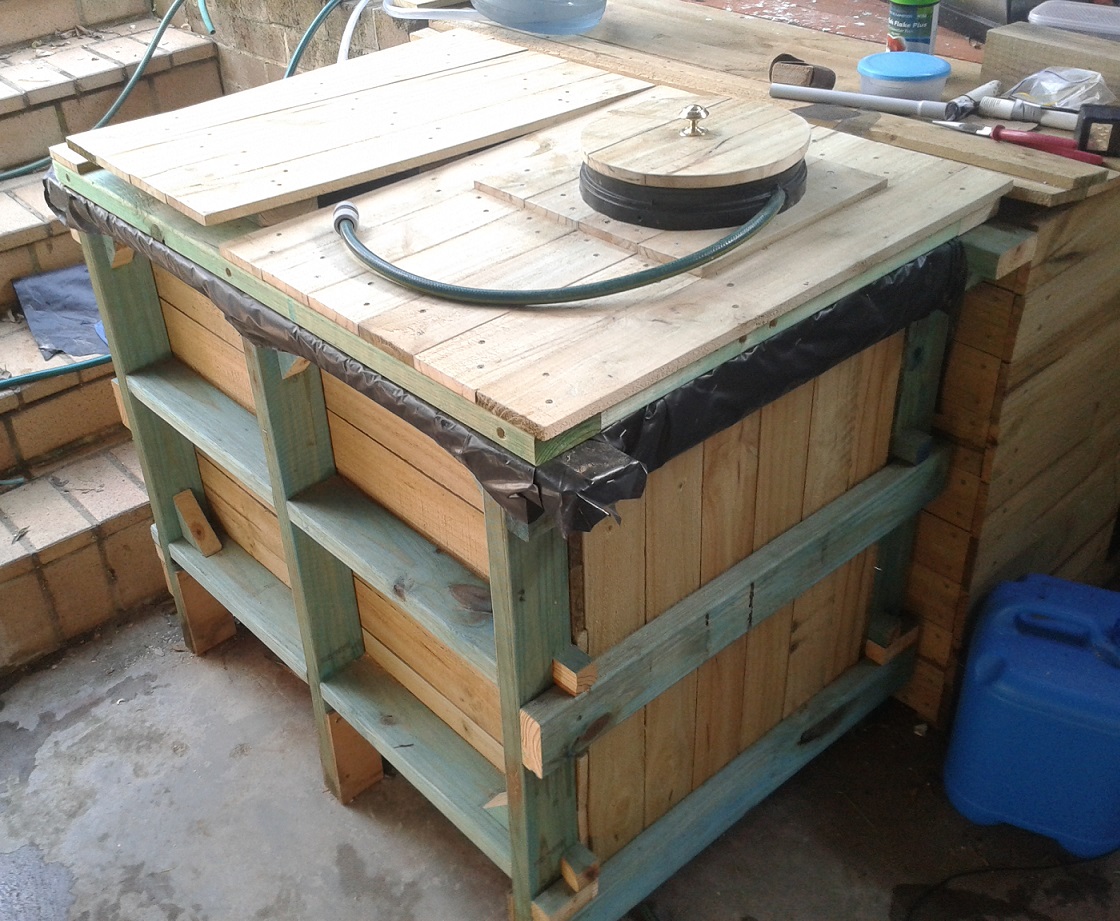
The timber tank prototype was the fifth tank added to our prototype Aquaponics system in Sydney, Australia. It was originally going to have a vertical frame integrated to support grow beds directly above it, but this was abandoned since we had no space available for the tank with sufficient direct sunlight to make it practical. Weight was also a consideration, and it was determined that the design would be better as a tank only, with the option to bolt on a separate grow bed frame rather than have it all as one unit.
Water flows in from the grow beds through an integrated swirl filter, and from the header through the spray bar on the underside of the tank lid. Water flows out through a permanent siphon that fed back to our main tank. The permanent siphon was a necessity so that there was no need to pierce the builders plastic below the tank’s water-line anywhere.
Revisions were made during the construction process, some of the components may not be visible in all the pictures. Prototype built 18/11/2014.
Project Goals:
- Create a cheap timber tank design
- Waterproof it with cheap, common materials
- Have no piercing in the waterproofing below the water line
- Integrate a swirl filter
- Appropriate for small areas such as a balcony
- Easy to insulate, if necessary
- Integrate a spray bar for aeration and constant flow (swirl filter was fed only intermittently from small flood and drain grow-beds)
The only limitation on the size of these tanks is the width of the builders plastic or other tank lining that will be used. The lining is made from single pieces, not overlapped.
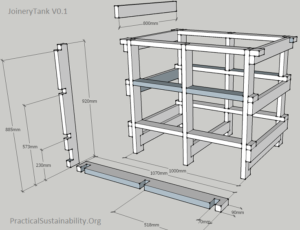
Revised plans:
After construction of the prototype, revisions were made to simplify construction:
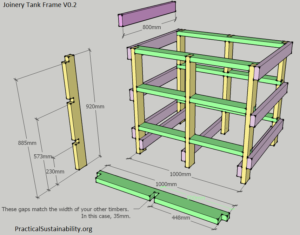
USE THE PLAN ABOVE, not the prototype plan. All photos of construction below are of the prototype version, so may not exactly match the revised plans. This tutorial will be improved next time we make a timber tank, if we have the time and money.
Step 1: Cutting the frame pieces
All that is involved in making the frame is; cutting the pieces to length, then cutting the slots out. (rebate joints)
The method is the same for both the 6 green horizontals and the 6 yellow verticals.
Cut them to length, then clamp them together. (pictured)
If you do not have clamps, you can temporarily screw them together with long timber or decking screws.
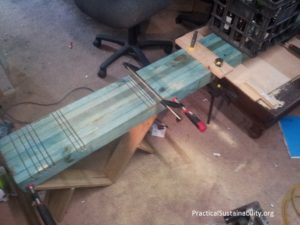
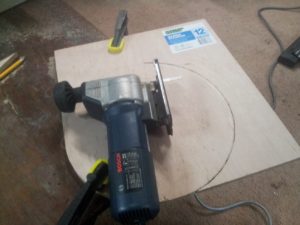
Once fixed, mark your lines across all 6 pieces, and cut your rebates with a circular power saw or a regular hand saw. There are extra cuts in the pieces pictured, these make it easier to chip out the waste material with a chisel or large flat head screwdriver. Always use eye protection when using power saws.
The depth of the cuts depend on your timber. We did 35mm deep rebates on the verticals, and 55mm on the horizontals, for our 90mm wide timbers.
Cut all pieces from the revised plan, and tap out the waste material from your slots.
Step 2: Slot the frame together, then screw on the sides
On a flat surface, line up the slots on your green and yellow pieces, then connect your verticals and horizontals by tapping them together using a hammer or a block of timber. It is recommended you glue these joints before tapping your pieces together, but the tank is designed so that glue is not absolutely necessary. We used Wood Glue (PVA), but any water resistant glue will work, even if your tank will get rained on.
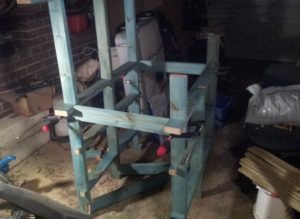
Once your two sides are ready, stand them on a flat surface, and get ready to screw in the purple horizontals pictured in the revised plan. If you do not have someone to help you hold the frame pieces steady while you attach the purple pieces, use clamps to clamp some in place before you begin, and check it is square. (Pictured)
When screwing on the side pieces, it is recommended that you drill pilot holes that are slightly smaller than your screws, as well as counter-sinking them to make sure the screw heads are flush with the surface of the timber.
Step 3: Build the tank walls & floor
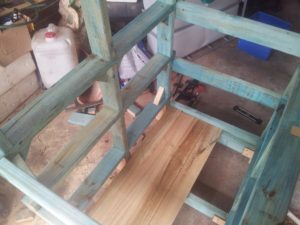
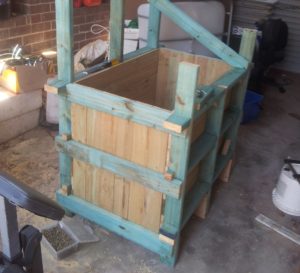
We used the cheapest wet fence palings, cut to size. The frame is very sturdy, so you don’t need to use expensive timber or materials for the tank walls & floor, as any warping or twisting from cheap or uncured timber will not be able to overpower the frame.
Step 4: Line the tank with plastic
To line the tank with plastic, get your plastic sheet roughly in position and fill the tank with 20 liters of water; this will help you position the plastic properly so that it fits nicely. After roughly fitting your first layer, it is recommended to add another layer using the same method, after draining out your first 20L or water with a hose as a siphon.
Once your layers are ready, completely fill your tank, then staple or thumbtack the lining to the frame. If you attach your lining layers before filling the tank, the plastic may rip away from the staples/tacks if the lining is not perfectly placed.
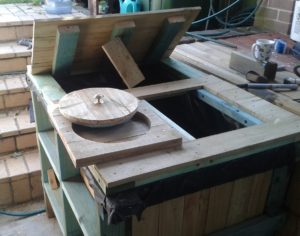
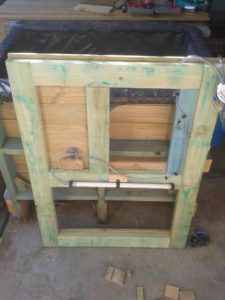
Step 5: Build the Lid frame & swirl filter
For the article on building the Swirl Filter bucket, Click Here.
For the article on building the Spray Bar, Click Here.
This will not be a detailed Lid tutorial, if you would like a detailed version, leave a comment on this page or contact us. If more than a few people want it, we will draft and publish details.
Match the size of your bucket so the frame supports it, as shown. The bucket will sit higher up than pictured later, so the water height won’t be affected too much.
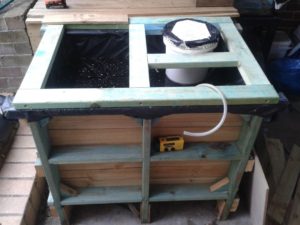
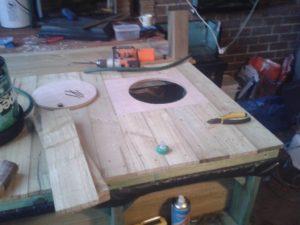
Swirl filter tutorial is up, @ DIY swirl filter #1
A tutorial for the permanent siphon will be added ASAP.
Spray Bar tutorial is up, @ Spray Bars: design and DIY
Please comment with any questions, or if you want more detail on any elements. We have lots of work to do, but will read all comments!
Results, two years later:
- Lining works perfectly.
- Permanent siphon works perfectly.
- Swirl filter works perfectly, but a built-in solution will be added for cleaning out the filter in under 10 seconds.
- Secondary lid (4 palings and three 90×35 cross pieces) warped by over 20mm, rectangle frame needed instead of three cross-pieces.
- Fish were often startled during tank inspection, recommend installing small garden light into the tank lid, so you can inspect the tank without casting shadows over the fish.
Version 0.02 will be made when we have budget and a site for it, stay tuned!

Awesome plans! This looks very achievable for a newbie aqupaponist. Please will you publish detailed lid plans as soon as you can?